How to Read a Floor Plan: A North Texas Custom Home Guide
- scott shipp
- Feb 6
- 14 min read
Think of a floor plan as the roadmap for your future home. It’s the master guide that lays out the scale, symbols, and flow before a single nail is hammered. This top-down view is where your vision first takes shape, showing you exactly how rooms, dimensions, and key features all fit together.
Your First Look at a Custom Home Floor Plan
Long before we pour the foundation for your dream home in Granbury or Weatherford, it exists as a collection of precise lines and symbols on paper. Learning to speak this architectural language is the first real step in turning your vision into a home. This document guides every single decision, from where walls are framed to where your light switches will go.
At first glance, it can look a bit intimidating. But you only need to focus on a few key elements to get your bearings. Think of it like reading a real map: you start with the basics to understand the layout and which way is north.
Finding Your Bearings
Your starting point is almost always in the corners of the page, where you'll find two critical pieces of information: the title block and the north arrow.
The Title Block: This is the plan's command center, usually tucked into the bottom-right corner. It holds all the essential project details: your name, the project address (even for rural spots in Glen Rose), the designer's info, and the drawing date. It’s the plan's official ID.
The North Arrow: Don't overlook this simple compass symbol. It’s one of the most important elements on the page because it shows how your home will sit on the property. This little arrow determines where the morning sun will stream into your kitchen and how much afternoon heat your patio will get during a Texas summer.
For anyone building on acreage in North Texas, the north arrow is absolutely crucial. It helps us place windows to maximize beautiful views and natural light while protecting the home from the punishing afternoon sun.
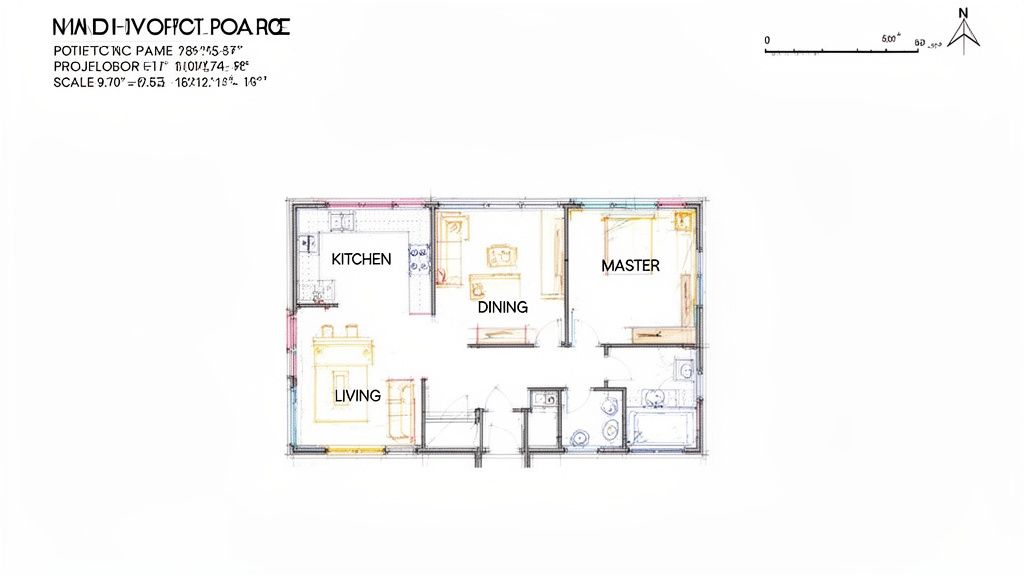
Once you’ve located these two markers, you can zoom out to the bigger picture. The main drawing shows a single level of your home as if you lifted the roof right off. You’ll see the arrangement of rooms, walls, doors, and windows, giving you that first real feel for the home’s layout.
To take it a step further, you can check out our guide to visualize your dream home with interactive floor plans, which brings these static drawings to life.
Decoding Scales and Dimensions Like an Expert
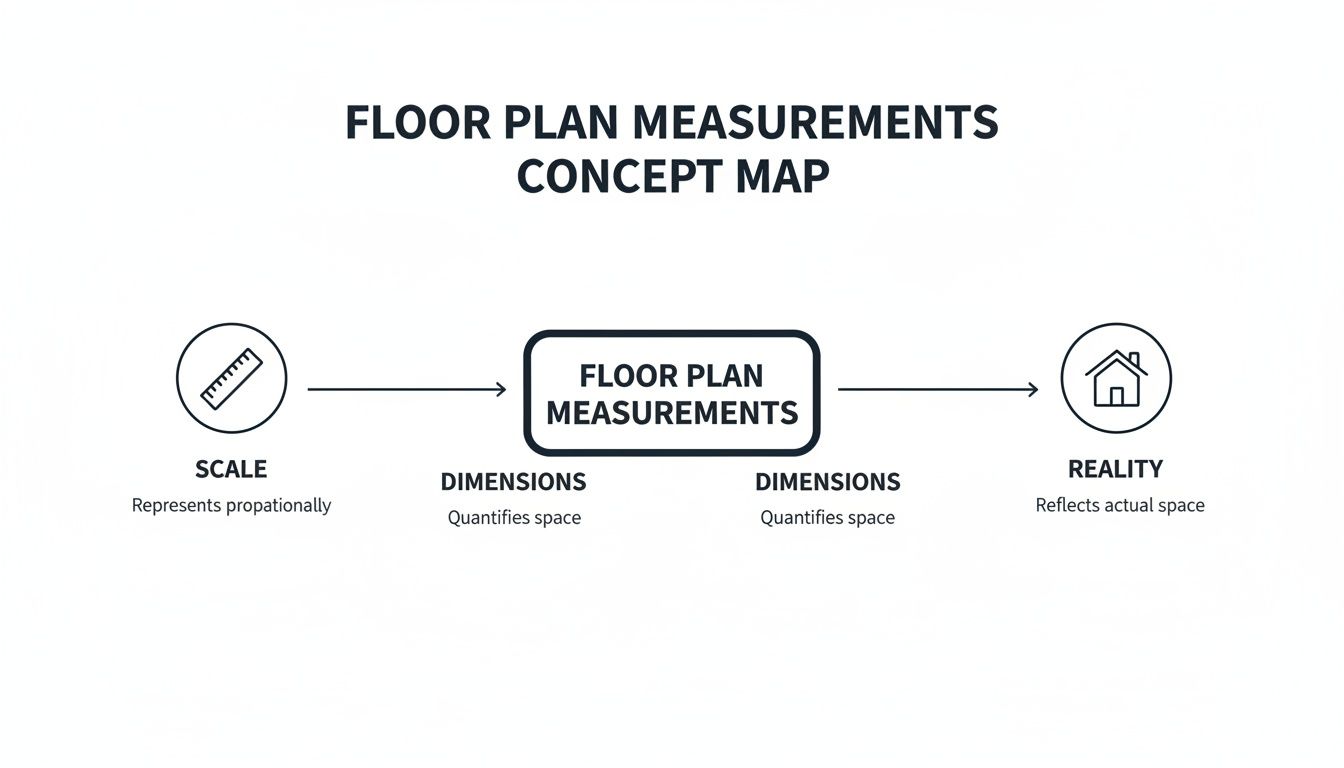
This is where the lines on a floor plan stop being abstract and start feeling like the real, tangible space of your future home. Understanding the scale and those strings of numbers—the dimensions—is how you'll know for sure that your Tolar kitchen will be big enough for Thanksgiving dinner, or that your favorite sectional will fit perfectly in your Granbury lake house.
Everything is designed for precision, leaving absolutely no room for guesswork.
The Magic of Architectural Scale
Just about every residential floor plan you'll see in North Texas, whether it's for a sprawling ranch in Weatherford or a cozy cottage in Glen Rose, uses one key measurement: the 1/4" = 1'-0" scale.
It’s simple: every quarter-inch on the paper represents one full foot in real life. This standard has been the bedrock of residential construction for decades, allowing us to fit a 3,000-square-foot home onto a manageable sheet of paper without losing a single critical detail. A three-inch line on the plan translates to a full twelve-foot wall in your actual home. It’s a powerful tool for planning. If you want to dive a little deeper, HomeDepot.com has a great primer on the basics of reading blueprints that covers some of these foundational concepts.
A Critical Homeowner Mistake to Avoid
I see this happen all the time, and it's a completely understandable impulse: you grab a ruler to start measuring the lines on the drawing yourself. Please, don’t do this. It’s one of the most common—and potentially costly—mistakes a homeowner can make.
Here’s why:
Printing Isn't Perfect: When a plan gets printed, scanned, or photocopied, the scale can get distorted. A drawing that’s off by just 2% can throw a real-world measurement off by several inches. In construction, that's a massive error.
Lines Have Thickness: The very thickness of the ink on the page can muddy your measurement, making you misread the true size of a room or a doorway.
Dimensions are Law: The printed numbers on the plan—what we call "dimension strings"—are the only measurements that matter. They are the single source of truth that every single person on the job site, from the framer to the electrician, will follow.
Relying on your own ruler to measure a plan is like trying to bake a cake by guessing the ingredients. The real recipe is in the printed dimensions—trust them exclusively to avoid expensive surprises.
How to Read Dimension Strings
So, if you’re not using a ruler, what do you look at? You look for the dimension strings. These are the lines with tick marks and numbers running alongside walls, windows, and doors, giving the precise measurements needed to build your home.
You’ll usually see a few of them running parallel to each other, stacked from the inside out.
The Innermost String: This line gets into the nitty-gritty details along a single wall. It calls out the exact width of each window, each door, and the specific wall spaces between them.
The Middle String: This one often measures to the centerline of interior walls or other key structural points inside the room.
The Outermost String: This is the big one. It gives you the overall dimension of that entire wall or section of the house, from one outside corner to the other.
Just last week on a custom build in Tolar, the outermost dimension for the main living room wall read 22'-6". The inner strings then broke that down, showing a 5'-0" window, followed by 7'-0" of wall space, a 3'-0" doorway, and finally another 7'-6" of wall. Add them up, and you get 22'-6". That’s the exact roadmap the framing crew uses.
Reading a floor plan really comes down to trusting the system. The scale gives you context, but the printed dimensions give you the facts. By focusing on those numbers, you can be confident that the home on paper is the exact home that gets built.
Mastering the Language of Floor Plan Symbols
If scale and dimensions are the grammar of a floor plan, then symbols and abbreviations are its vocabulary. Learning this visual shorthand is what separates just looking at a floor plan from truly understanding it. This is where you move past the basic layout and start to see how your home will actually feel and function day-to-day.
It’s not just about knowing where the refrigerator goes. It’s about visualizing the little details that make a house a home.
Decoding Doors and Windows
Doors and windows control the flow of light, people, and even your furniture arrangement. That simple line with a curved arc isn't just a door; it shows the swing direction, which is a crucial detail for ensuring you don't create awkward bottlenecks or block access to a closet.
On a typical North Texas plan, you’ll run into these common types:
Swing Door: The standard interior door. It’s drawn as a solid line for the door itself with a quarter-circle arc showing how far it swings open.
Pocket Door: A brilliant space-saver that slides right into the wall. You’ll see it as a thin rectangle that disappears into a thick wall section. We love using these for pantries or master closets in homes we build around Godley and Aledo to maximize usable space.
Bifold Door: Usually found on closets, these are drawn as two hinged panels that fold in a V-shape.
Windows: These look like a break in the wall, often with a few thin parallel lines inside representing the glass and frame. Specific types, like a casement window, might have a small arc to show how they swing outward.
Once you know what you're looking at, you can start making smart planning decisions. See a pocket door? Great, that frees up wall space for a dresser. Notice a wide bank of windows? That just became the perfect focal point for your new living room in Stephenville.
Identifying Fixtures and Appliances
This is where an empty box on paper starts to look like a functional room. The symbols for fixtures and appliances are usually drawn from a bird's-eye view, so they're pretty intuitive once you get the hang of it.
Your plan will clearly mark out things like:
Kitchen Staples: A simple box labeled "REF" is your refrigerator. A square with small circles for burners is the range. The sink is a rectangle, and next to it, you'll often find a box labeled "DW" for the dishwasher.
Bathroom Fixtures: Toilets are easy to spot—they look like a circle attached to a rectangle. Sinks are ovals or rectangles drawn inside a countertop line. Showers are typically squares or rectangles with an 'X' running through them to show the drain, while tubs are larger, more oblong shapes.
This is your chance to mentally walk through your daily routines. Is the dishwasher right next to the cabinet where you'll stack your plates? Does the master bathroom vanity have enough space for two people getting ready on a busy morning? The symbols tell the story.
Spotting Key Architectural Features
Finally, keep an eye out for the symbols that represent the home's permanent structure. Stairs, for instance, are shown as a series of parallel lines with an arrow pointing "UP" or "DN" (down). A fireplace is typically a box built into a wall, sometimes with a smaller shape inside for the firebox itself.
Because floor plans have limited real estate, designers rely heavily on abbreviations. You'll constantly see terms like WIC for a walk-in closet, LN for a linen closet, or WH for the water heater.
If you see an abbreviation or a symbol that doesn't immediately make sense, just ask. A quick conversation with your builder can clear up any confusion and ensure the vision in your head is exactly what ends up on the blueprints.
How to Analyze a Home's Flow and Circulation
A great floor plan is more than just a collection of rooms; it's a blueprint for your daily life. This is where we move beyond symbols and dimensions to feel out the home’s flow and circulation. These are the invisible elements that make a layout feel effortless and intuitive, rather than awkward and frustrating.
To really get a feel for a home's circulation, you need to mentally walk through the plan. Try tracing the common paths you and your family would take every single day.
Tracing Your Daily Paths
Put yourself in the home and imagine your routines. Visualizing these common scenarios can quickly reveal if a layout works for you or against you.
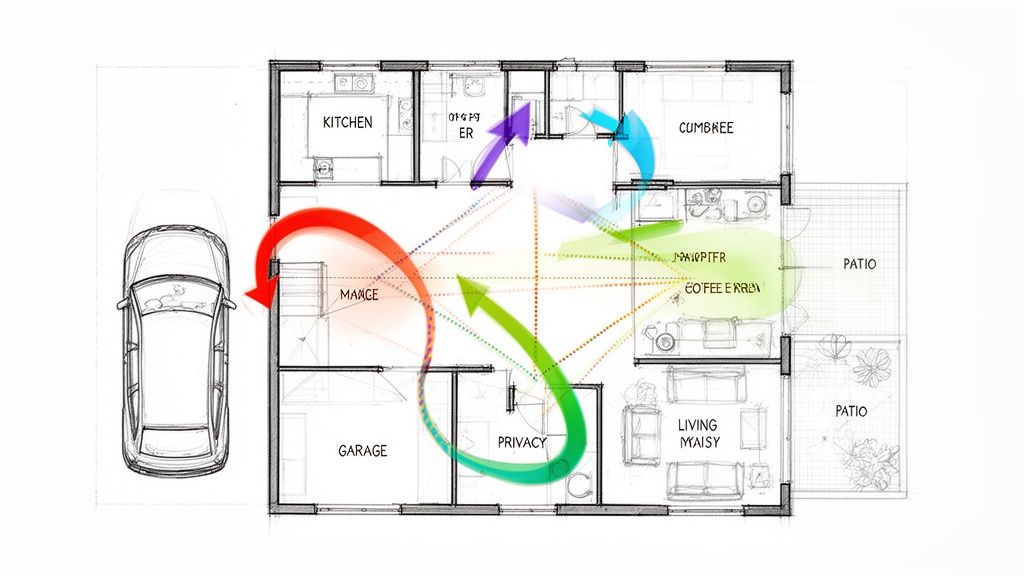
The Grocery Run: Follow the path from the garage door to the kitchen pantry and fridge. Is it a long, winding trek through other rooms, or a straight shot? A well-designed plan makes this chore as painless as possible.
The Morning Routine: Now, walk from your master bedroom to the coffee maker. Are you forced to cross a main living area where guests might eventually be, or is there a more private path?
Entertaining Guests: Picture having friends over at your Aledo property. How do they move from the living area to the back patio or a powder room? You're looking for clear, wide pathways that prevent bottlenecks, especially around furniture.
These mental walkthroughs are incredibly revealing. They uncover potential pain points that you'd never spot just by looking at room sizes. For retirees we build for in Glen Rose, for instance, we focus on minimizing steps and ensuring all primary living is on one level for easy, long-term access.
Sightlines, Privacy, and Room Adjacency
Beyond the physical paths, a great layout has to strike a balance between that open, airy feeling and the need for privacy. This is all about sightlines and smart room placement.
A sightline is simply what you see from any given point in the home. When you walk through the front door, does your eye get drawn to a beautiful view through the living room window, or are you staring at a bathroom door? Long, uninterrupted sightlines can make a home feel much larger and more connected. It's a key principle we use when designing open-concept homes in North Texas, and you can learn more by exploring our 10 expert strategies for decorating open floor plans.
A home’s layout should create logical zones. Public spaces like the kitchen, living room, and dining area should flow together, while private zones like bedrooms and master bathrooms should be buffered from the main household activity.
Think about which rooms are next to each other (adjacencies). For a young family building near Weatherford, placing the laundry room close to the bedrooms is a no-brainer. On the other hand, you probably wouldn't want the kids' playroom sharing a wall with a home office that needs to be quiet.
Here are a few adjacency questions I always ask clients to consider:
Does the master suite share a wall with the noisy great room?
Is the guest bedroom tucked away in a quiet corner, away from the family's main traffic patterns?
How easy is it to get from the kitchen to an outdoor dining area?
Analyzing flow is really about imagining your life unfolding in the space. By tracing paths, checking sightlines, and thinking through room placement, you can be sure the final design isn't just beautiful on paper—it’s a perfect fit for your family.
What Other Drawings in a Plan Set Reveal
While the main floor plan gives you that essential bird's-eye view, it’s just one piece of a much larger puzzle. To really get a handle on your custom home project, you need to get familiar with the complete set of construction documents. Think of the floor plan as the star of the show, but the other drawings are the crucial supporting cast that brings the whole production together.
A full set of plans ensures that every contractor—from the foundation crew to the electricians—is working from the same script. This is what stops costly miscommunications in their tracks and makes sure the home you get is the home you designed.
The Site Plan: Your Property's Master Map
For anyone building on acreage in North Texas, from Millsap to Cresson, the site plan is arguably as important as the floor plan itself. This drawing zooms out to show your entire property, detailing not just the footprint of your home but how it sits in relation to everything around it.
It's the master map that dictates critical infrastructure and landscape features. A well-thought-out site plan addresses:
Home Placement: It precisely positions your home on the lot, factoring in setbacks, views, and that all-important north orientation for managing the intense Texas sun.
Essential Utilities: It maps out the path for driveways, locates the septic system and well (if applicable), and shows where power and water lines will run from the road to your home.
Topography and Features: The plan will also note the slope of your land (topography), any existing trees you want to save, and other natural features that will shape your home’s final placement and outdoor living spaces.
Ignoring the details of the site plan is a common pitfall. The last thing you want is to discover your beautiful back porch faces directly into the setting sun with no shade, or that the driveway route is far more complex and expensive than you ever imagined.
Elevation Drawings: Seeing Your Home from the Outside
If the floor plan is the view from above, elevation drawings are the view from the street. These are flat, two-dimensional drawings of your home's exterior, showing you exactly what it will look like from the front, back, and sides. They’re less about room dimensions and all about aesthetics and materials.
These drawings are where you confirm the visual character of your home. You'll see:
The style and placement of windows and doors.
Roof pitches, dormers, and overhangs.
Exterior finishes like brick, stone, and siding, which are called out with notes.
Elevations are your reality check. They translate the lines on the floor plan into the home your neighbors will see, ensuring the final curb appeal matches what you’ve envisioned.
These drawings also specify critical vertical measurements, like ceiling heights and the final grade of the land around your foundation. For a family building in Aledo, this is where you’d see how a walk-out basement connects to the backyard or confirm the height of the front porch.
Electrical and Mechanical Plans: The Hidden Systems
Some of the most important plans are the ones detailing the systems you'll use every day but will rarely see. The electrical plan is a copy of your floor plan overlaid with symbols for every switch, outlet, light fixture, and ceiling fan. This is your chance to really think through how you’ll live in each room.
Do you need an outlet in the pantry for charging a vacuum? Where will you plug in your holiday lights? Answering these questions now prevents the frustration of running extension cords later.
Similarly, the mechanical plan shows the home's heating, ventilation, and air conditioning (HVAC) system. It lays out where the ductwork will run, where vents will be placed, and the location of the main HVAC unit. Properly planning these systems is key to comfort and efficiency, a topic we cover in more detail in our North Texas guide to insulating HVAC ducts.
A complete floor plan package, often called a 'plan set,' can have between seven and twelve pages that detail every aspect of your home. These sets include everything from the site and elevation plans to framing details, roofing plans, and mechanical system layouts. For anyone working with a custom builder, understanding that these plans represent the complete blueprint for your home is essential. You can discover more about what's included in a professional plan set on HousePlans.com.
Ultimately, taking the time to review every page in the plan set helps you ask smarter questions and make more informed decisions, which always leads to a smoother build process.
Turning Your Plan into a Productive Builder Conversation
Alright, you’ve put in the work. You can now look at a set of floor plans and see more than just lines on paper—you see the flow of your future home, you understand the symbols, and you can visualize the spaces. That’s a huge step. But the most important part comes next: taking that knowledge and having a real, in-depth conversation with your builder.
This meeting isn't just a box to check. It's the moment we bridge the gap between the blueprint and the build. Getting this right now saves headaches, prevents expensive mid-build changes, and sets the stage for a smooth, transparent project.
Asking the Right Questions
Walking into this meeting with a list of specific questions will make a world of difference. Your goal is to go from a general "I like this layout" to a crystal-clear understanding of every single detail. We're here to walk you through it all, of course, but coming prepared helps everyone.
I'd suggest focusing on these key areas:
Clarifying Notes and Callouts: See an abbreviation you don't recognize? A note that seems a bit technical? Point right to it and ask. This is the perfect time to say, "This note here about the shear wall—what does that practically mean for how I can decorate this living room wall?"
Structural Elements: It's easy to overlook things like beams, headers, and support columns on paper. Ask us, "Will this beam be wrapped and hidden in the ceiling, or is it going to be an exposed feature?" Knowing this upfront avoids surprises later that could throw a wrench in your furniture or lighting plans.
Window and Door Specs: The plans show you where the windows and doors go, but not always what they are. This is your chance to discuss the specifics. We can talk through the pros and cons of different materials (vinyl, wood, fiberglass), styles (like casement vs. double-hung), and the energy ratings that really matter for our North Texas climate.
Why You Shouldn’t Measure the Plans Yourself
It's tempting to grab a ruler and measure things directly off the plan, but it's a habit we strongly advise against. A floor plan is a precise guide, but you should always rely on the written dimensions, not what you can measure yourself.
Paper can shrink or expand with humidity, and even digital prints can have distortions of 2% to 5%. That might not sound like much, but over the span of a room, it can lead to real-world problems. For your custom home in Weatherford or Glen Rose, that direct conversation with us is the only way to guarantee absolute accuracy. You can read more about floor plan accuracy on vdci.edu if you want to dive deeper into the technical side.
Your floor plan is the script, but the conversation with your builder is the rehearsal. It’s where we work out all the kinks together to guarantee a flawless performance when construction begins.
Talking Materials and Staying on Budget
This plan review is also the perfect time for a down-to-earth chat about materials and your budget. The choices we finalize here will directly impact the final cost and the look and feel of your home.
For instance, a note on the plan might just say "stone veneer" for the fireplace. That’s a starting point, not the final word.
This is your opportunity to ask questions like:
What are the cost and look differences between using local Granbury stone versus a manufactured option?
If I choose this tile for the kitchen, how will that affect the transition to the hardwood in the living room?
I love the look of these countertops, but are there any similar, more budget-friendly materials we could look at?
These are the conversations that turn abstract lines on a page into a real, achievable plan. By walking through every detail together, we make sure there are no surprises and that your vision for your North Texas home becomes a beautiful, well-built reality.
At Gemini Homes, we believe a successful project is built on a shared understanding from day one. If you’re ready to review your plans or just want to start the conversation, we invite you to schedule a no-pressure consultation with our team. Visit us at https://www.geminihomesgranbury.com to get started.
Comments